Data Moving And Renaming
By default, Globus performs data copy operations when transferring files between endpoints. However, if you want to reorganize files within the same endpoint without creating redundant copies, you can use the Rename function in the Globus File Manager. This feature allows you to rename files or move them to a different directory within the same filesystem.
Follow the steps below to move or rename files using the Globus web interface:
-
Navigate to the desired directory Open the Globus File Manager and browse to the location you want to organize on the
hcc#atticendpoint.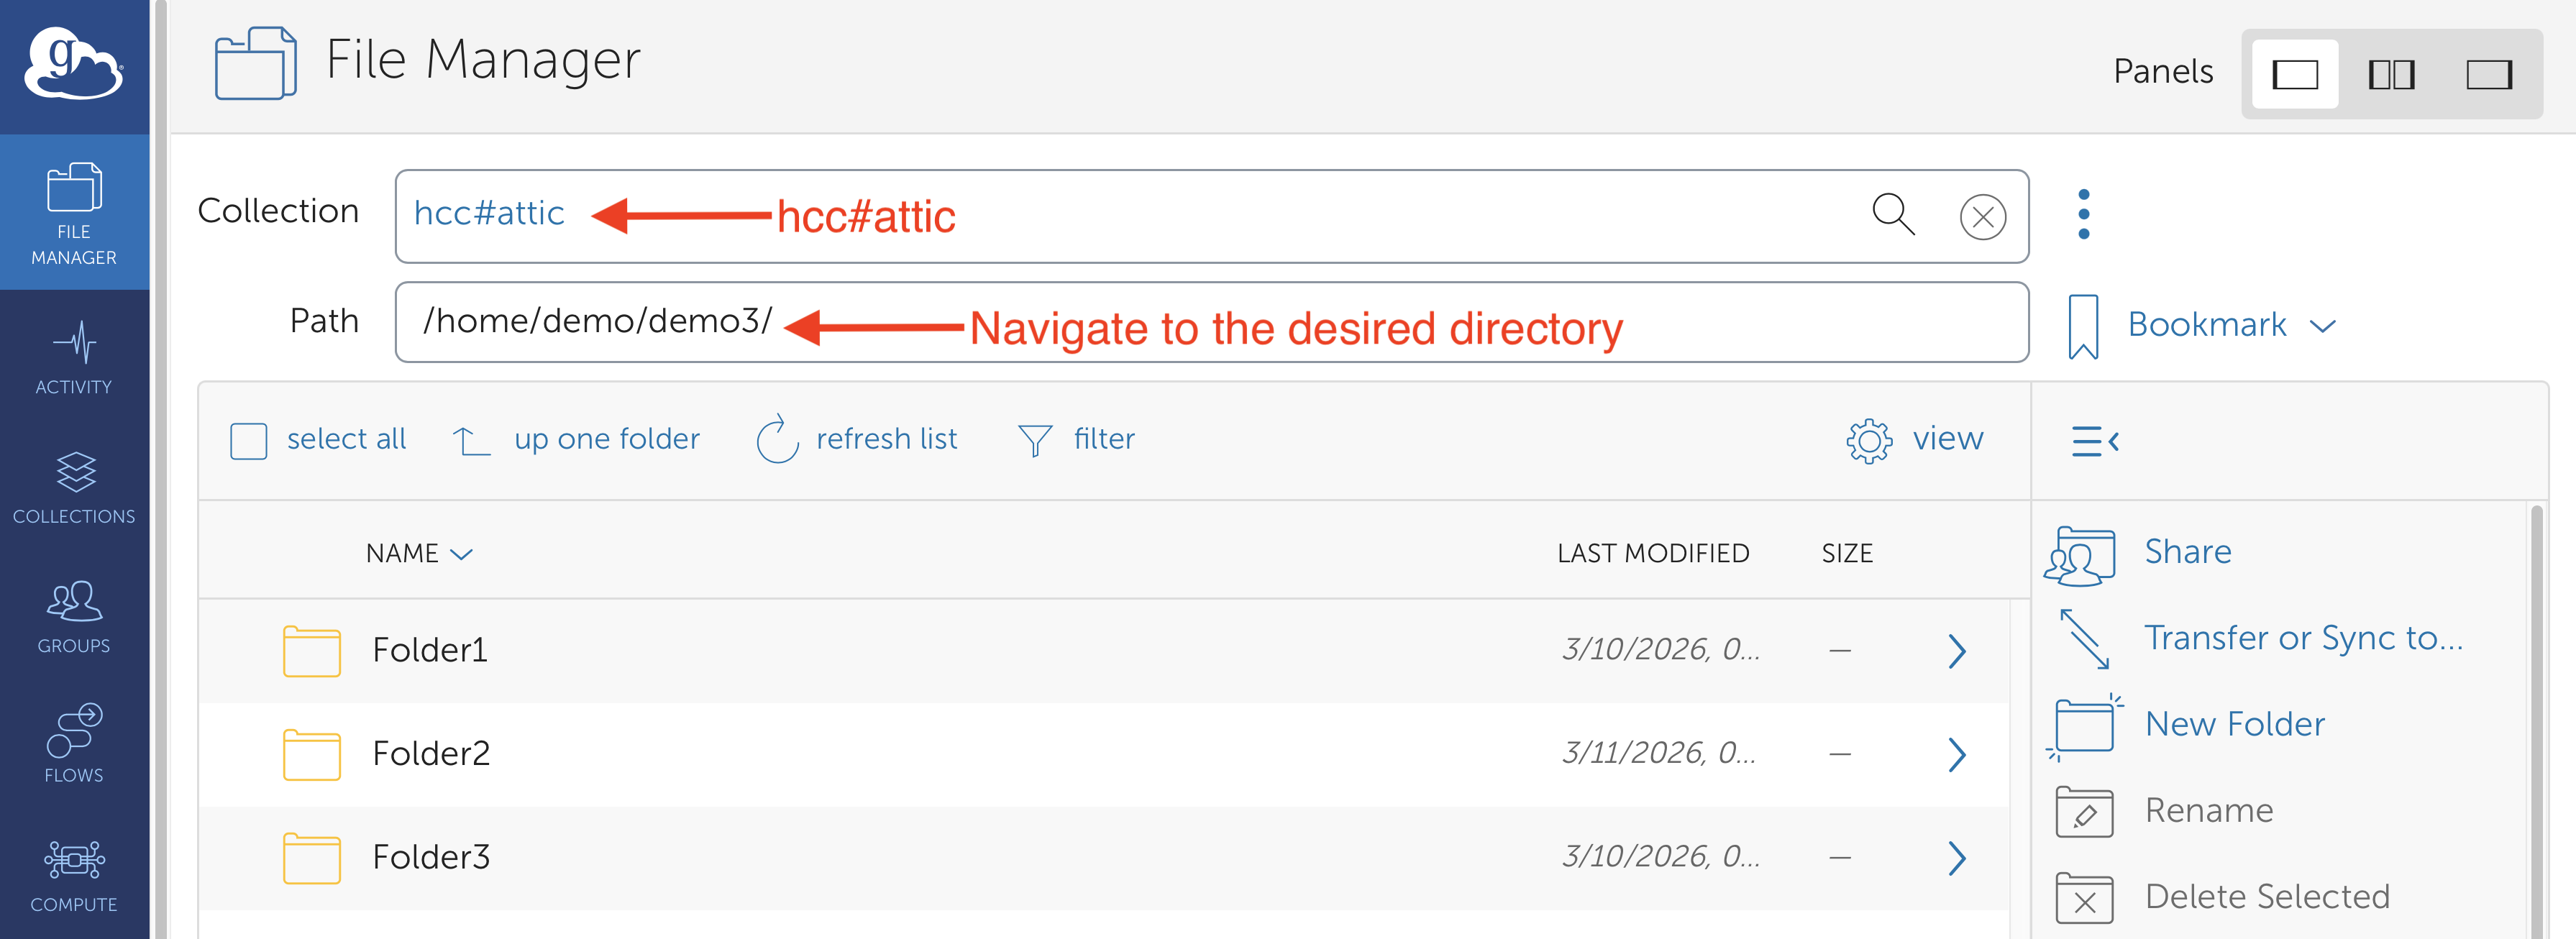
-
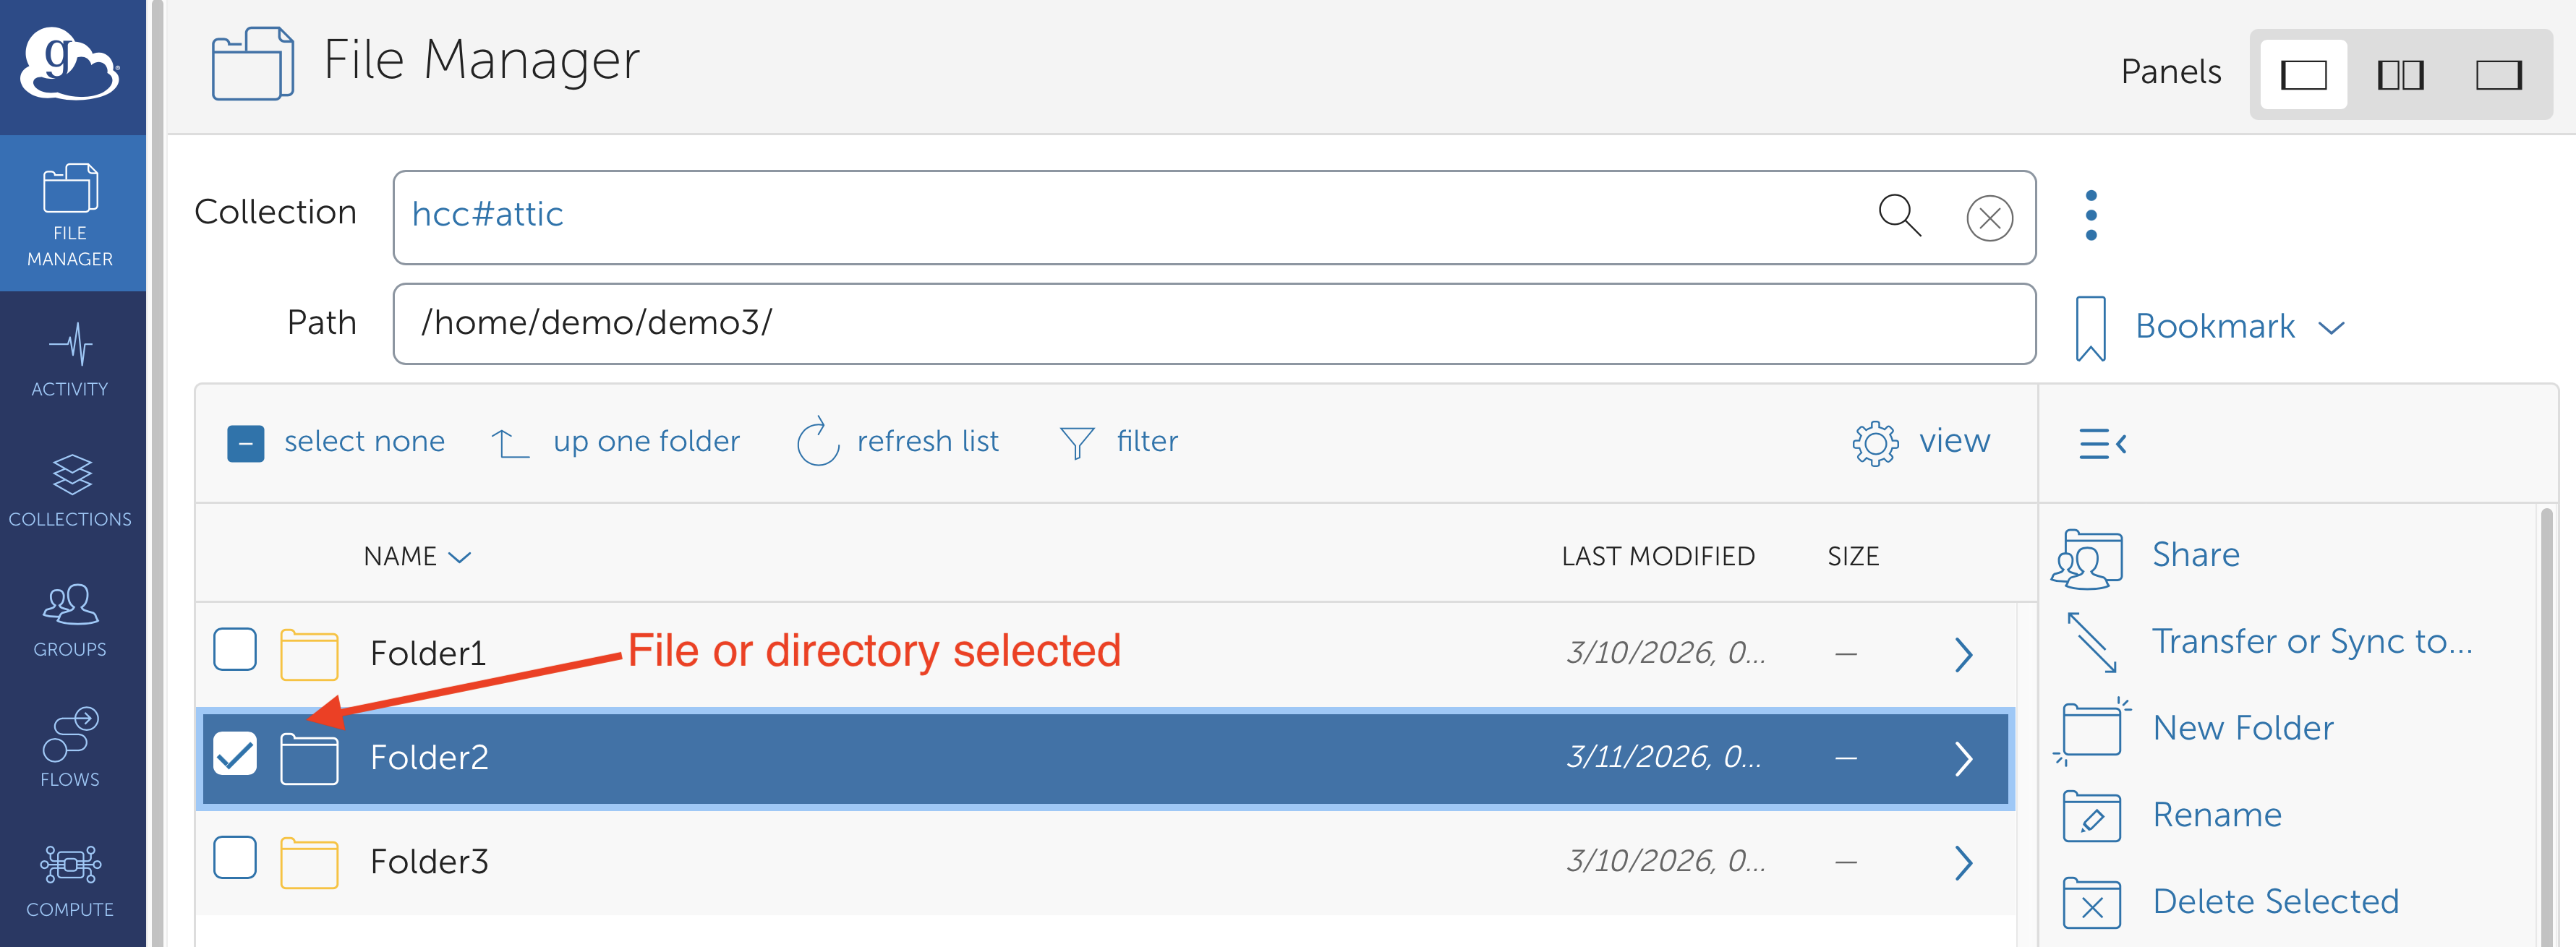
Select the file or directory Locate the file or folder you want to move or rename and select it by checking the box to the left of the item.
-
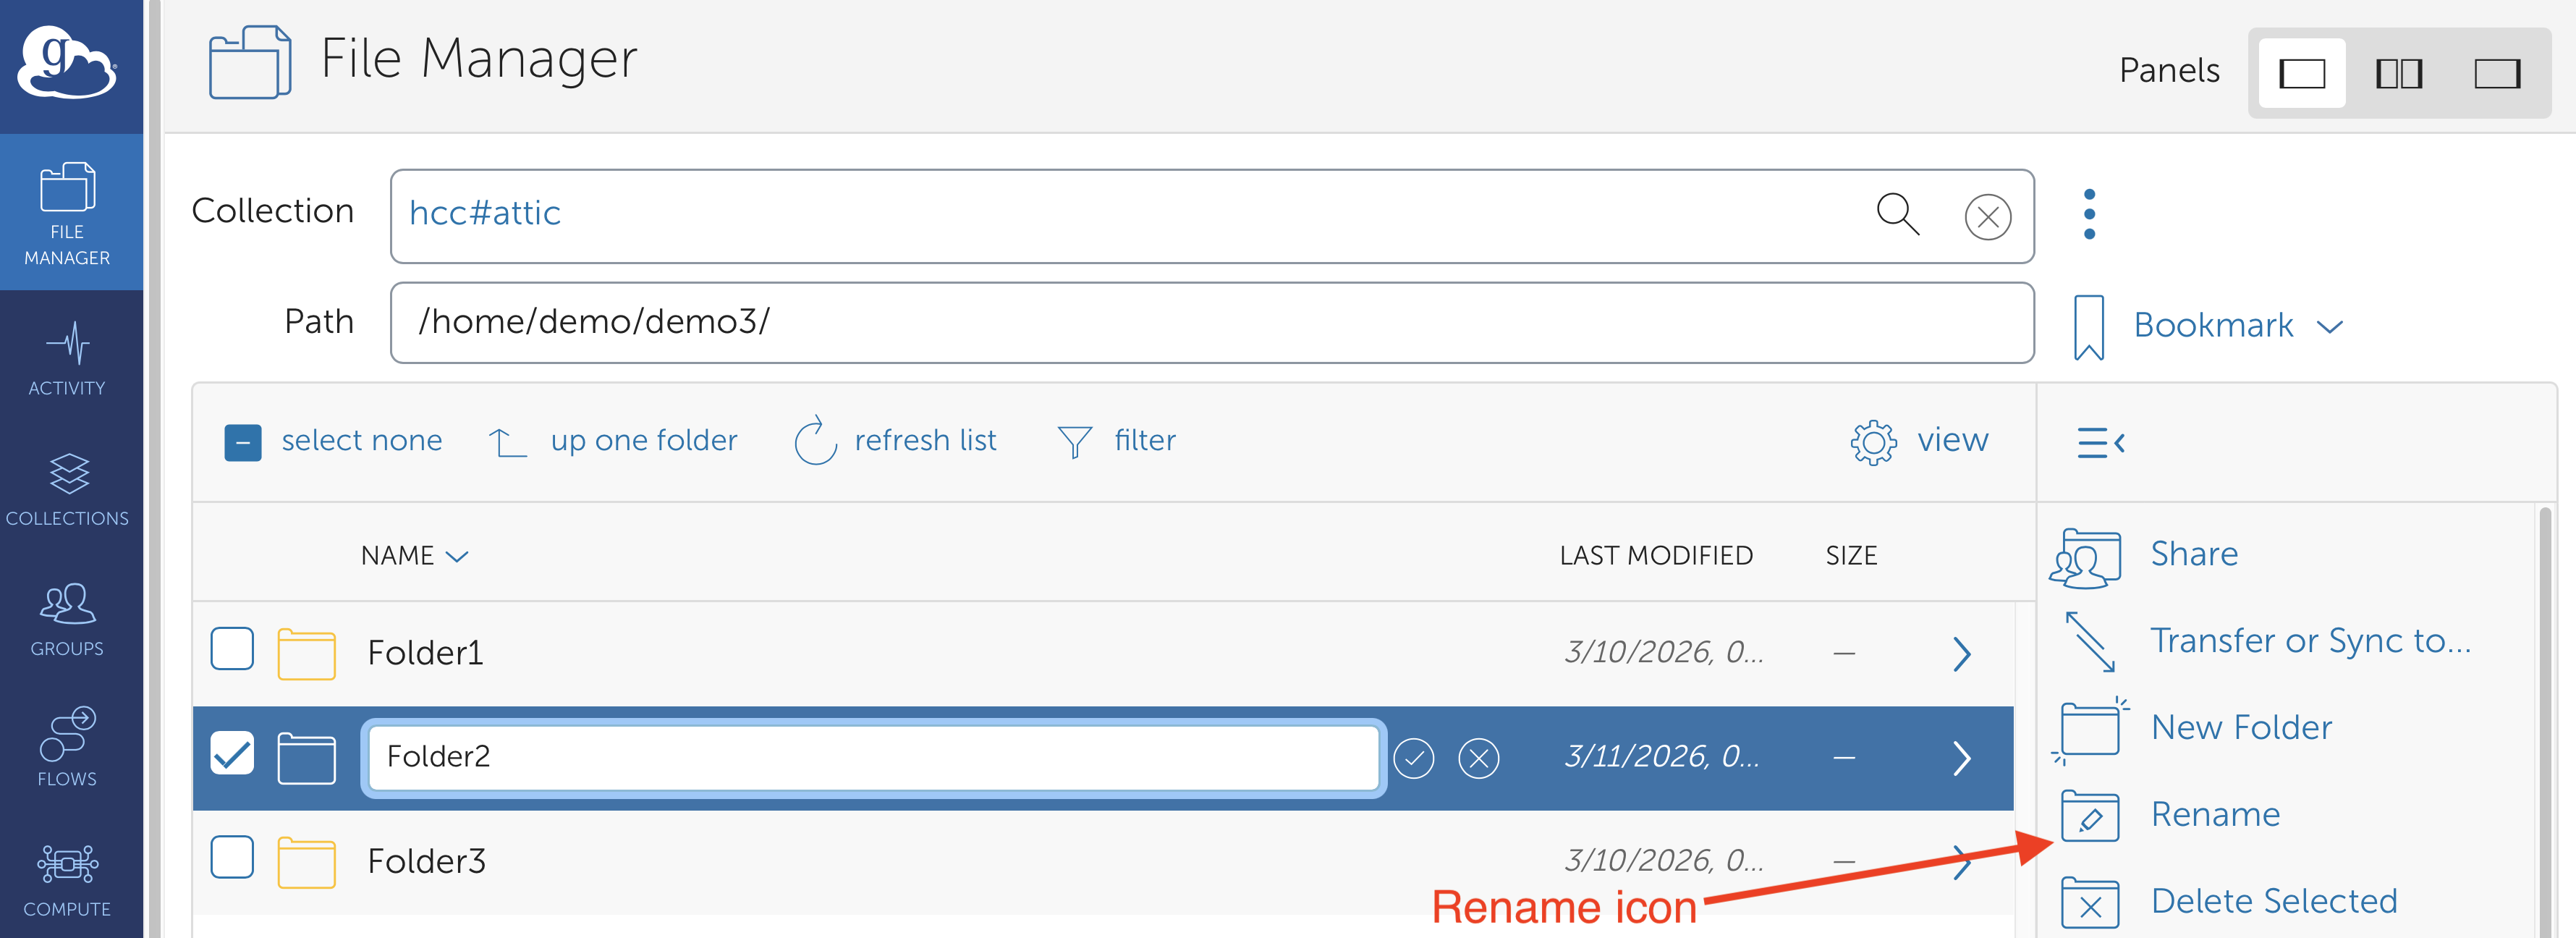
Click the Rename action In the action panel on the right side of the File Manager, click the Rename icon.
-
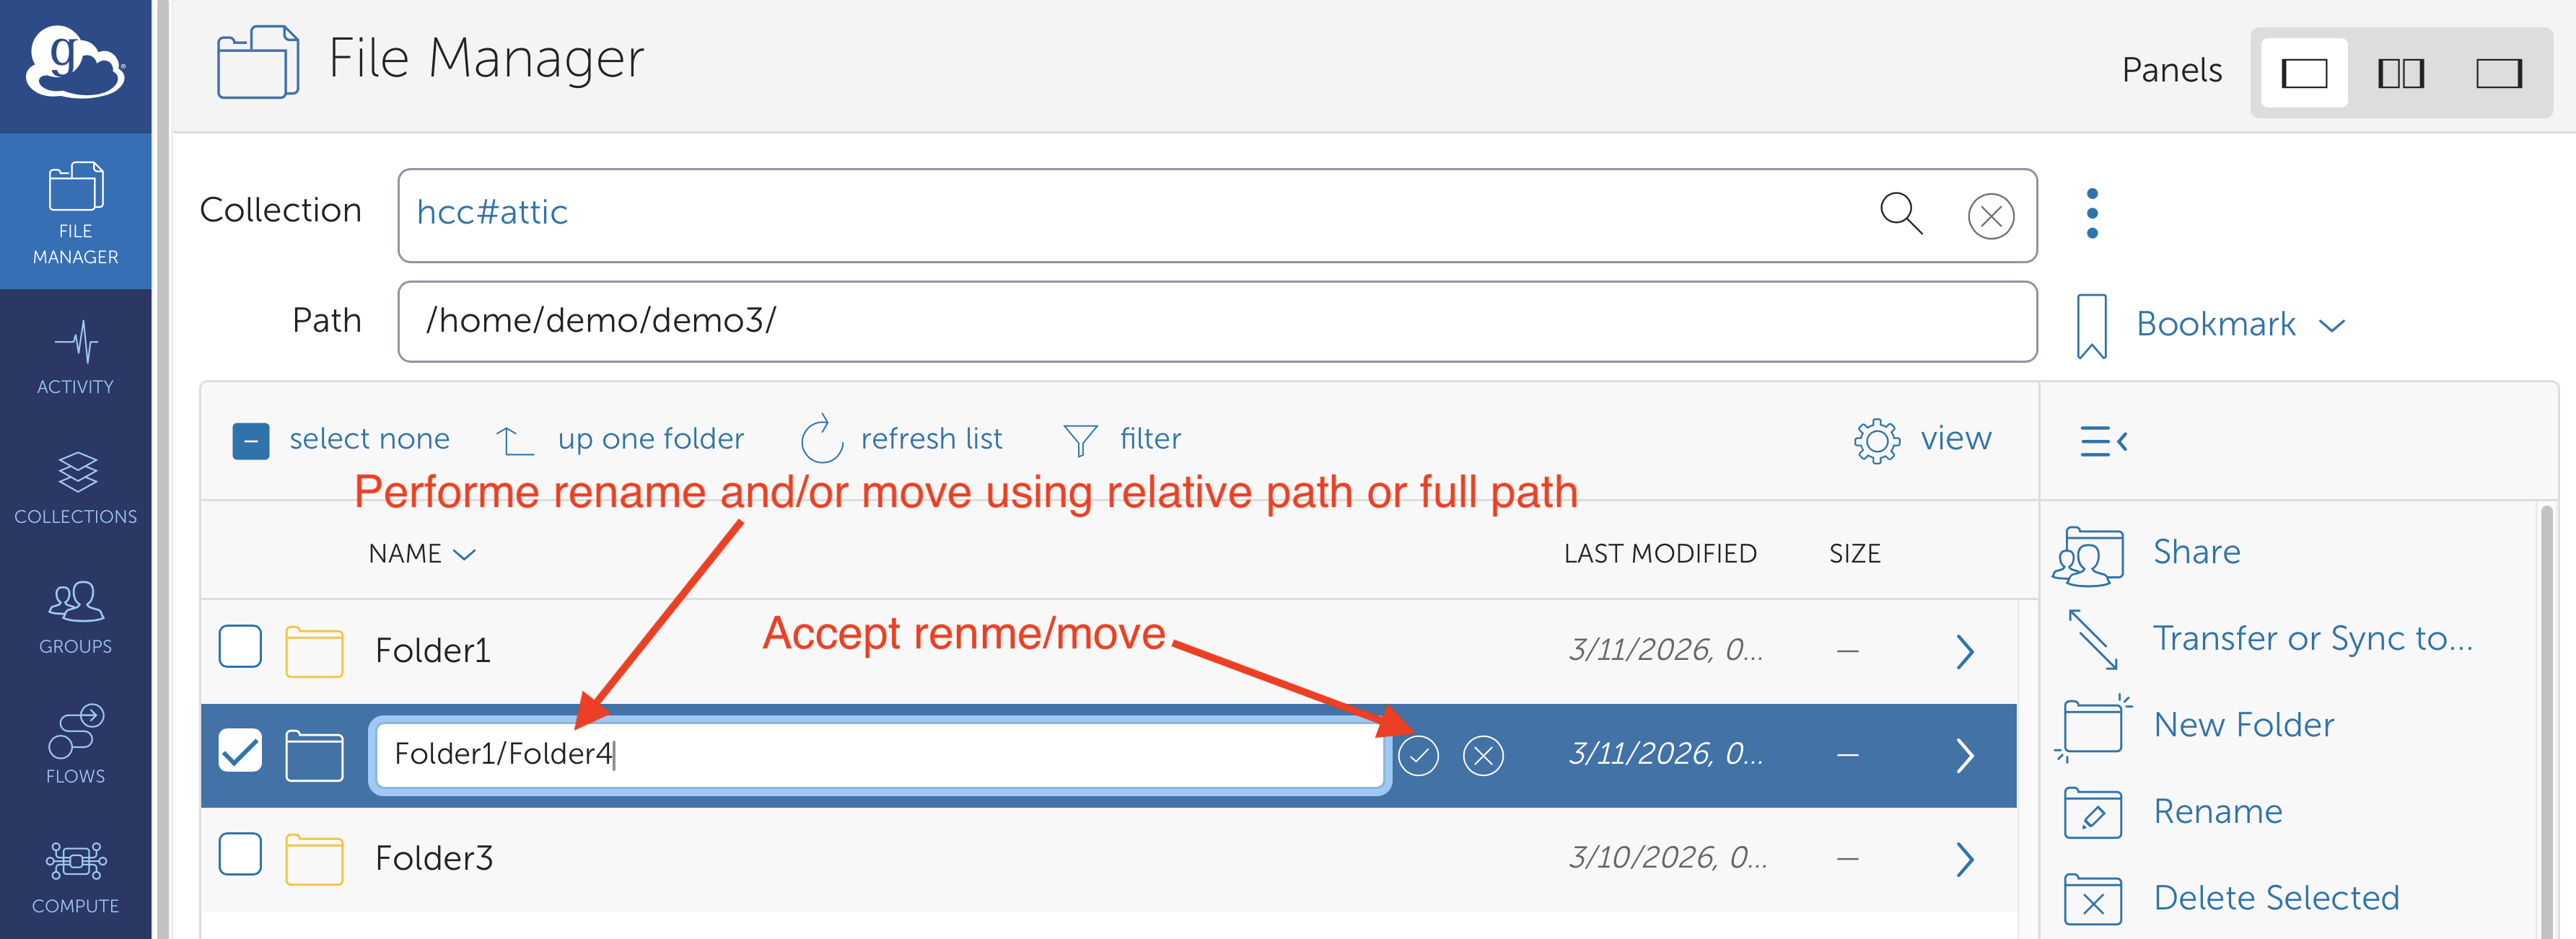
Enter the new name or path The selected item will become editable:
- To rename the item, enter a new name.
- To move the item, enter a relative or full path representing the new location within the Attic.
-
Confirm the action Click the checkmark next to the input field to execute the rename or move operation. Globus will report whether the operation completed successfully or failed.
-
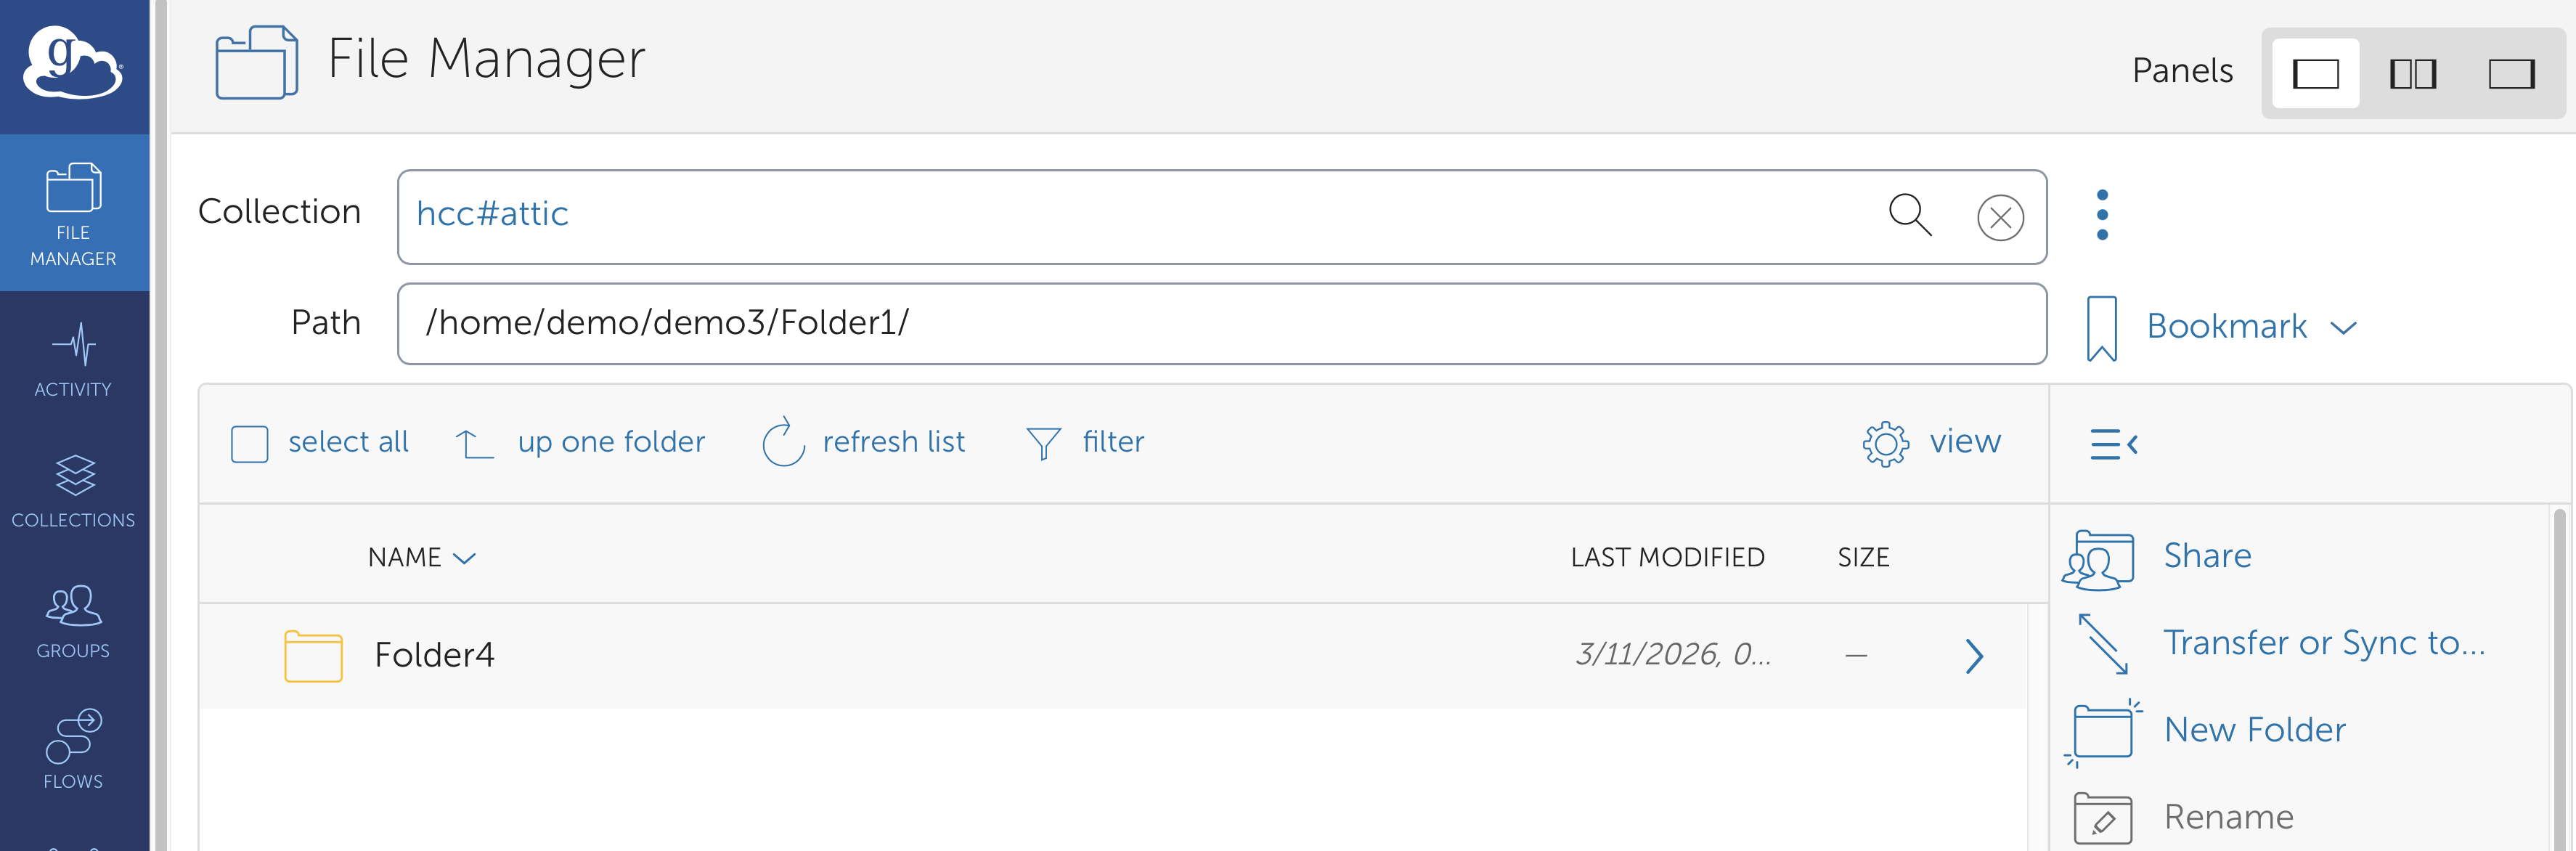
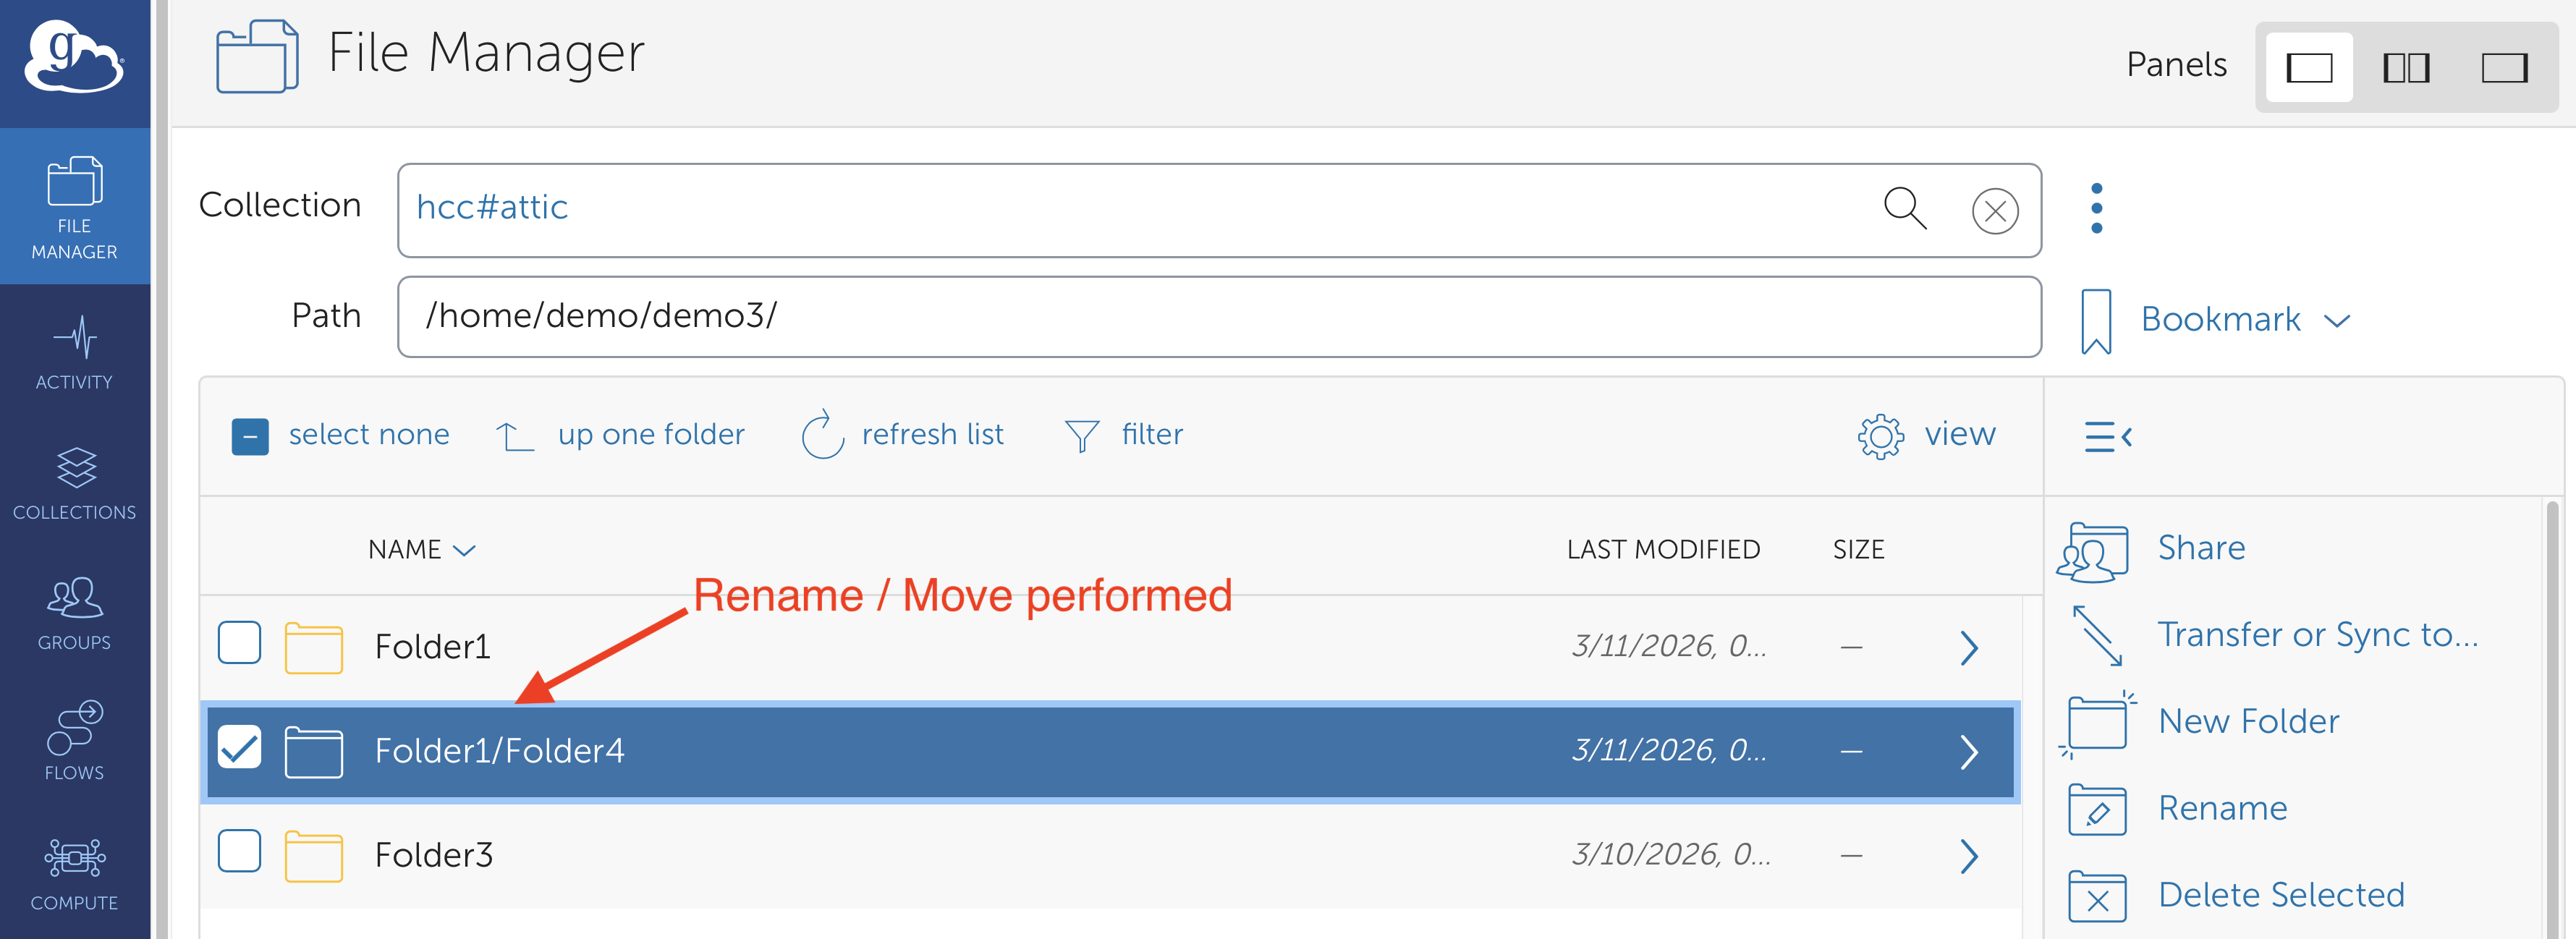
Refresh the file list Click the Refresh List button at the top of the File Manager to update the view and confirm the changes.

-
Check the changes