Connecting to Linux Instances using X2Go
Install the X2Go Client
- Linux
- On RedHat or CentOS, enable EPEL repo and install the
x2goclientpackage - On Fedora, install the
x2goclientpackage - On Windows or OSX, download and run the X2Go Client installer from http://wiki.x2go.org/doku.php/download:start or via the direct links below
- Windows installer direct link
- OS X 10.6 or higher installer direct link
- OS X 10.9 or higher installer direct link
Start an instance on Anvil with Xfce
Start a new instance with any of the images that include Xfce.
Steps:
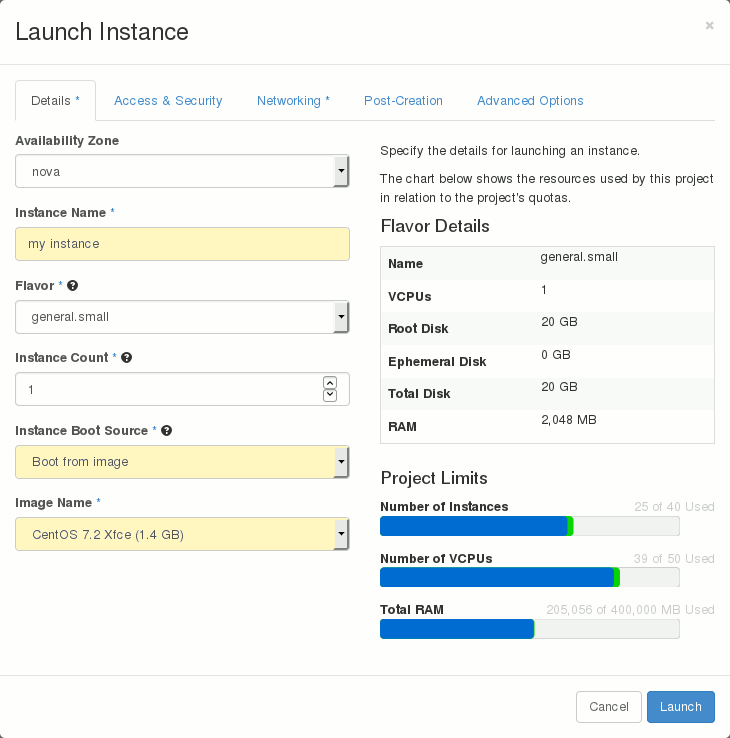
- Under Compute... Instances... click the 'Launch Instance' button
- Choose 'Boot from image', and select your desired image (here
'CentOS 7.2 Xfce' is used)
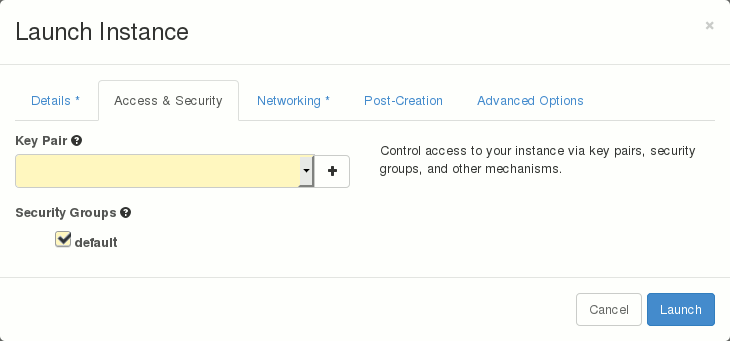
- On the 'Access and Security' tab, ensure the 'default' security
group is checked. This will allow incoming SSH access.
- On the 'Networking' tab, add the 'Cluster Interface' network only
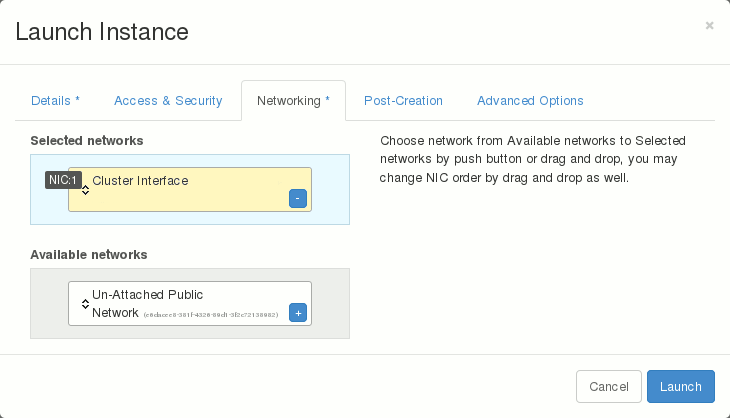
- Launch the instance
- On the instances page, note the IP Address of your new instance
Connect with the X2Go Client
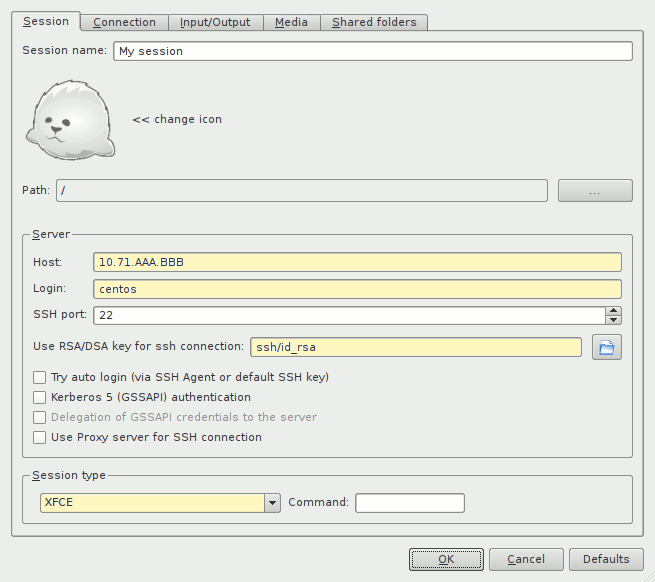
Create a new session with the following settings:
- Host: IP address of your instance
- Login: Depends on the Linux version (For example: CentOS -
centos, Alma -almalinux, Ubuntu -ubuntu, Fedora -fedora, etc.) See the "Username to Connect" column on this page for a complete list. Herecentosis used. - RSA key: Configure with the id_rsa key pair you used to create the instance
- Session type: XFCE
- Click 'OK' to save your new session
We also recommend adjusting the settings as follows for better performance:
- Under Connection, set "Connection speed" to "WAN" and "Compression Method" to
4k-png. - Under Media, ensure that both "Enable sound support" and "Client side printing support" are both unchecked.
- Shared folders can also impact performance. Ensure that none are listed under Shared folders by default unless they are needed.
Open the connection:
- Anvil instances are on a private network. To reach them with SSH, you'll need to connect to the Anvil VPN.
- Click on the session in X2Go Client to open it
- The first time you connect, you'll be asked to confirm the SSH key
of the remote server.

-
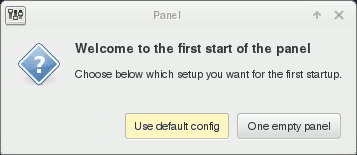
After a couple seconds, a desktop will open. Click 'Use default config' to get a standard Xfce Linux desktop.
-
You're ready to use your Xfce Linux desktop