Creating an Instance
Note
This guide assumes you have already created SSH keys (Windows | Mac) and added them to your account, and if off-campus that you are connected to the Anvil VPN.
To create an instance, an Image is combined with a Flavor. Regardless of whether creating a Linux or Windows instance, the steps are the same. See the Available Images and Anvil Instance Types for details on which images and flavors are available. Unless you have a specific reason to choose otherwise, it's recommended to start with the smallest flavor usable with your instance.
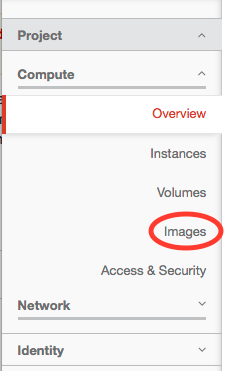
Login into the web dashboard at https://anvil.unl.edu. On the left-hand side menu, choose Images.
Click the Public button to see the list of publicly available images.
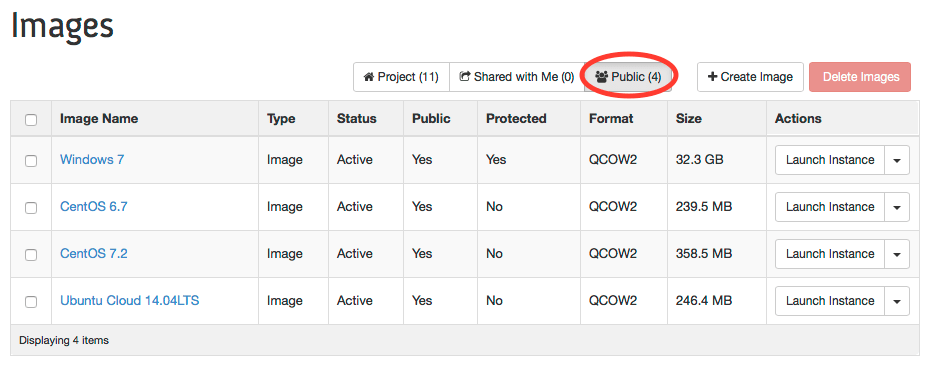
Choose whichever OS you would like and click the Launch Instance button on the right-hand side of the table. Here, CentOS 6.7 will be used as an example.

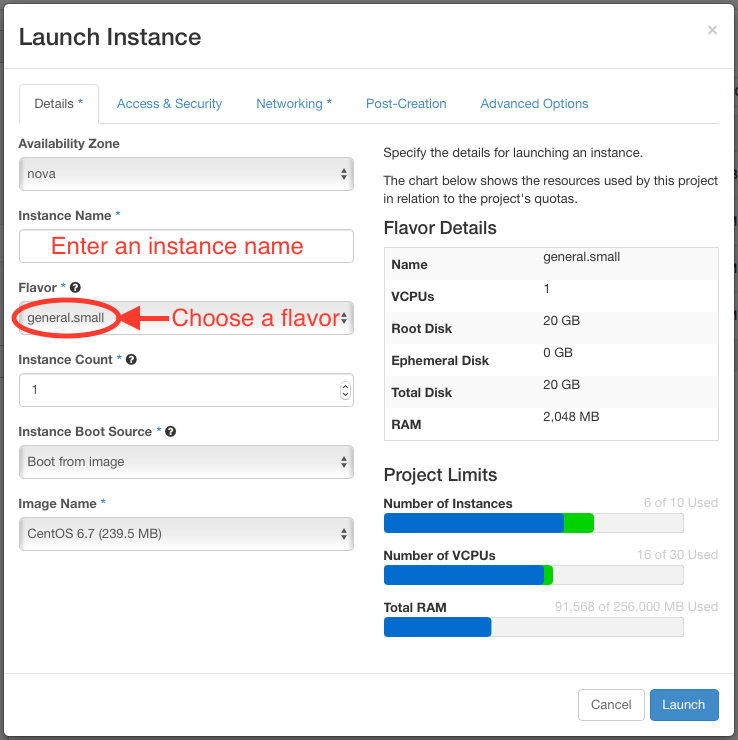
A pop-up box will appear with additional details about the instance. First, enter a name for the instance and choose the flavor from the drop-down menu.
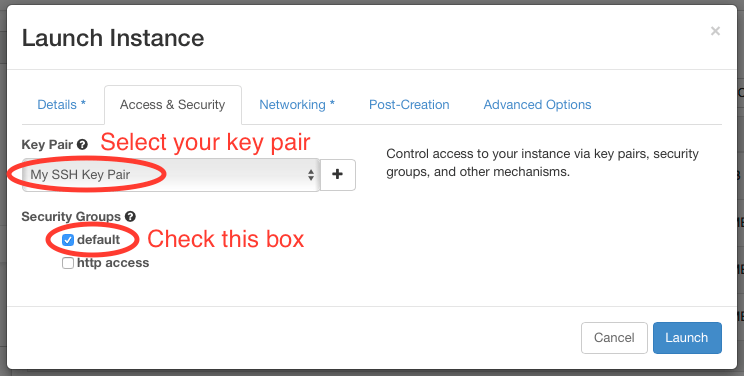
Next, click the Access & Security tab. Make sure to select your SSH key pair from the drop-down menu, and check the default box under Security Groups.
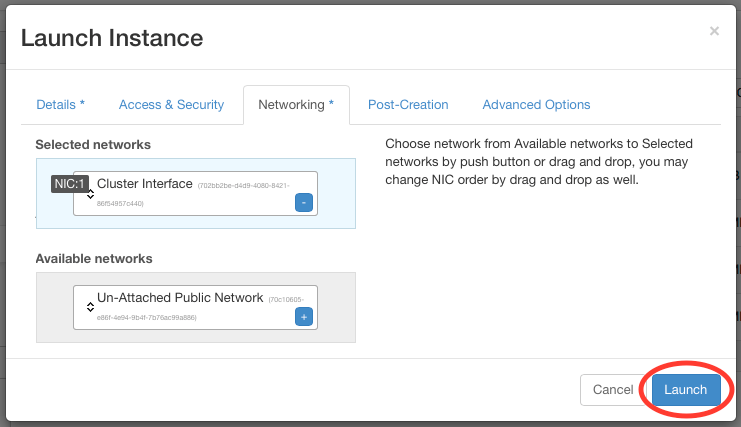
Next, click the Networking tab. Click the small blue '+' icon in the Cluster Interface box to add it to the Selected networks.

Finally, click the Launch button to start the instance.
The Instances page will load, and there will be an entry for the newly created instance. It may take several minutes for the instance to complete the provisioning and startup process.