Formatting and mounting a volume in Windows
Note
This guide assumes you associated your SSH Key Pair with the instance when it was created, and that you are connected to the Anvil VPN.
Note
These steps are only for a newly created volume. When attaching a previously formatted volume to an instance, it will automatically be visible as a second drive.
Once you have created and attached your volume, it must be formatted and mounted in your Windows instance to be usable. This procedure is identical to what would be done when attaching a second hard drive to a physical machine. In this example, a 10GB volume was created and attached to the instance.
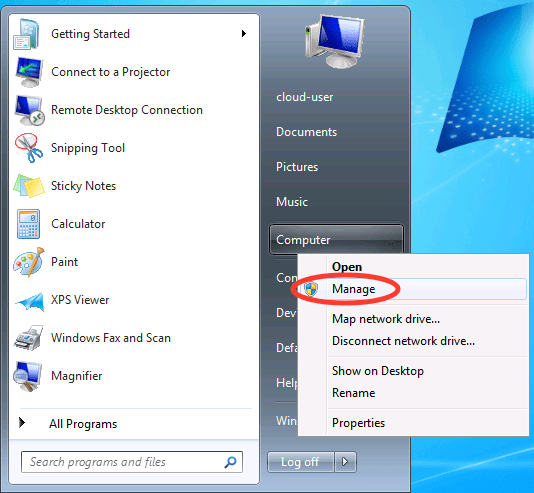
From the Start menu, right-click on Computer, and select Manage.
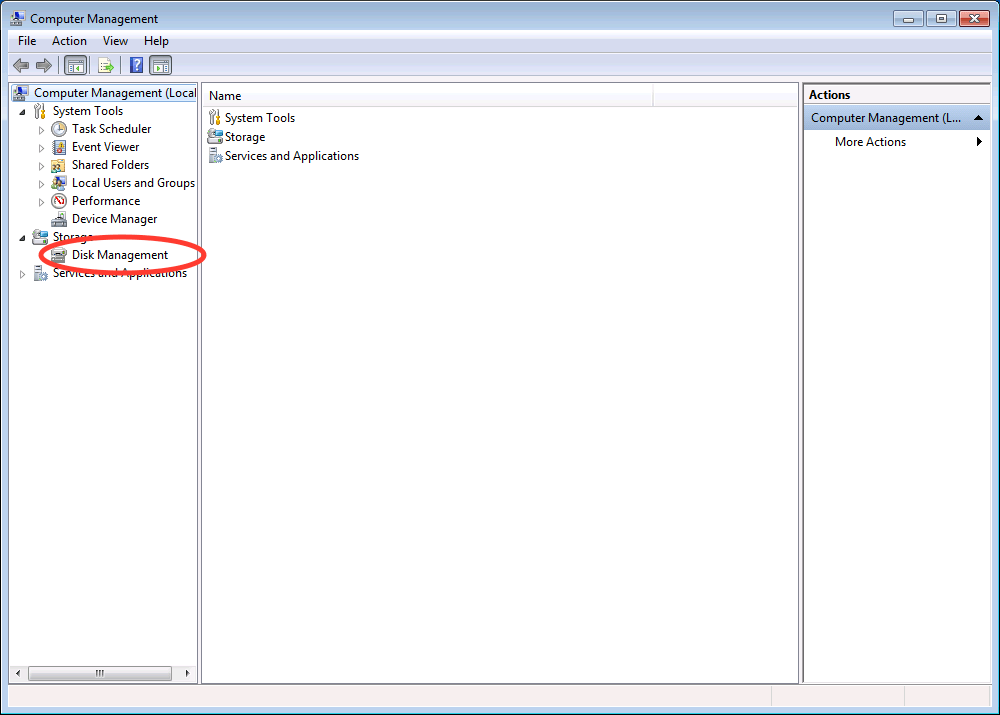
This will open the Computer Management utility. On the left-hand side menu, click Disk Management.
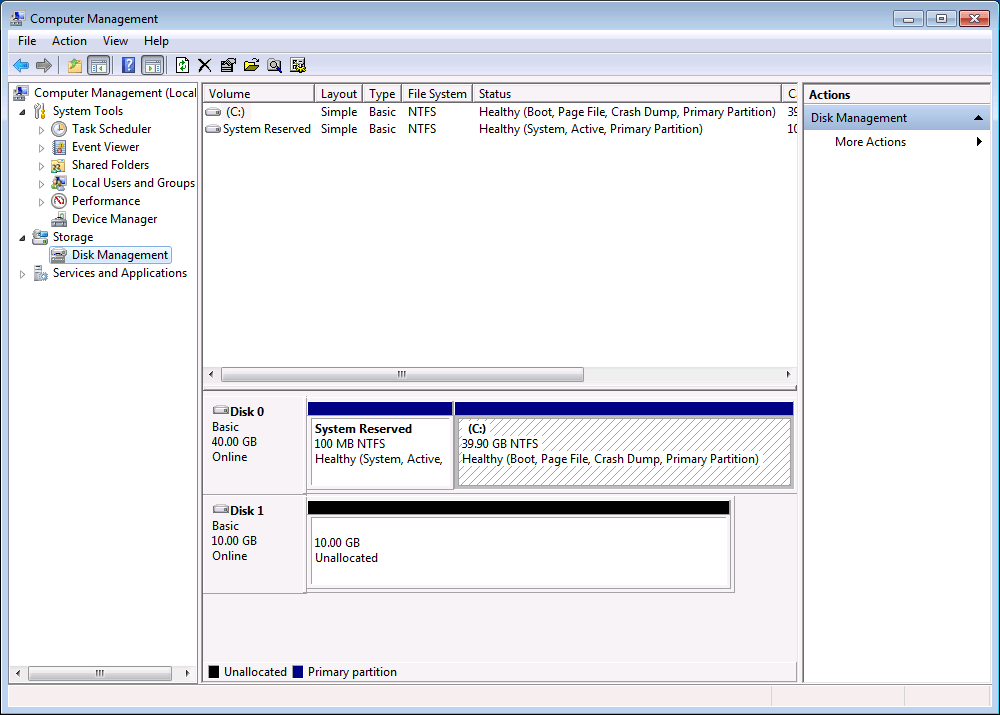
You should see two entries. One for the OS hard drive, and a second unallocated disk.
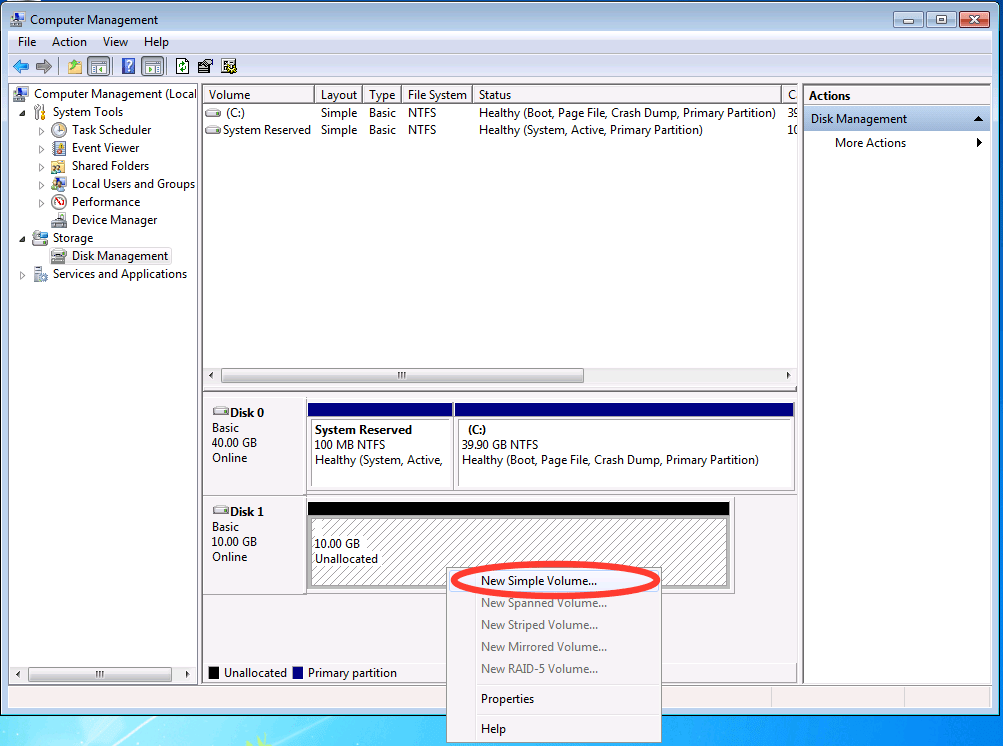
Right click anywhere in the white rectangle for the unallocated disk and choose New Simple Volume....
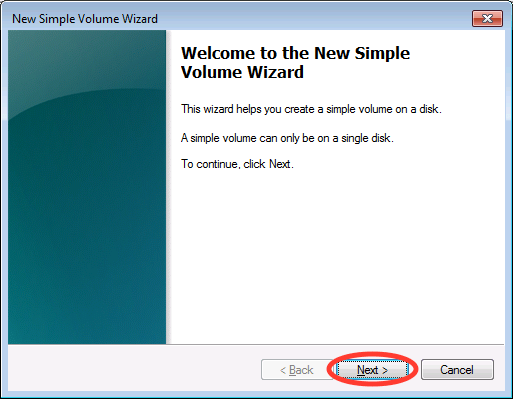
This will bring up the New Simple Volume Wizard. Click Next to continue.
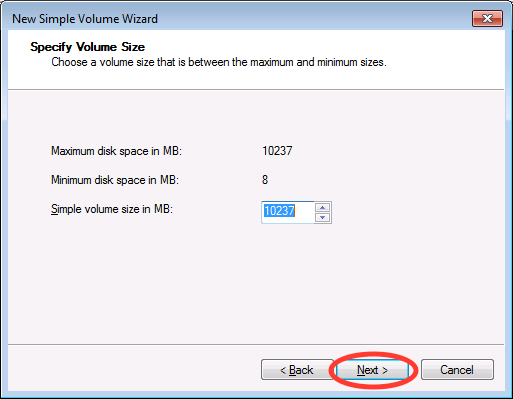
The default is to format the entire volume. Unless there is a specific reason not to, click Next to continue.
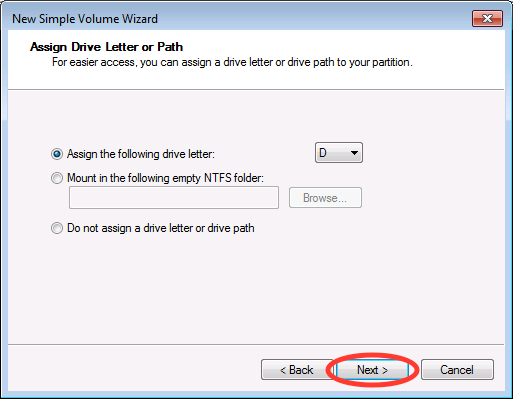
The default is to assign the volume a drive letter (typically D). Click Next to continue.
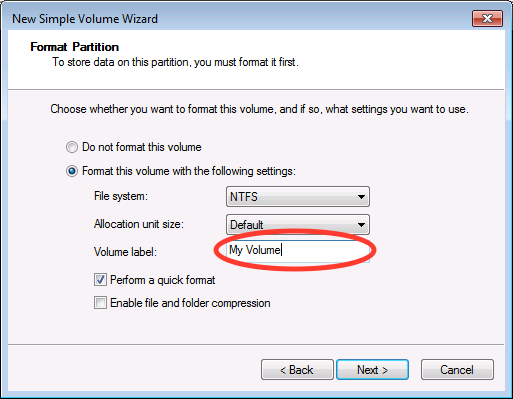
Change the Volume label field if you wish the drive to be named something other than the default, and click Next to continue.
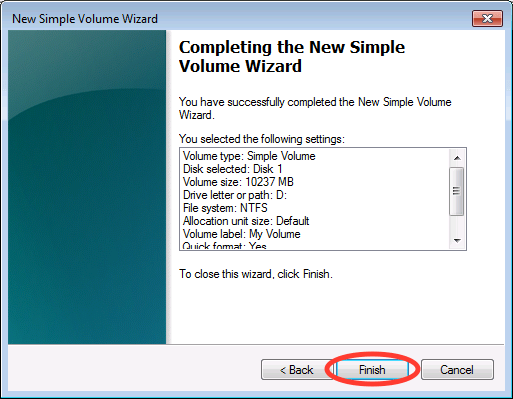
Finally, click Finish to close the wizard.
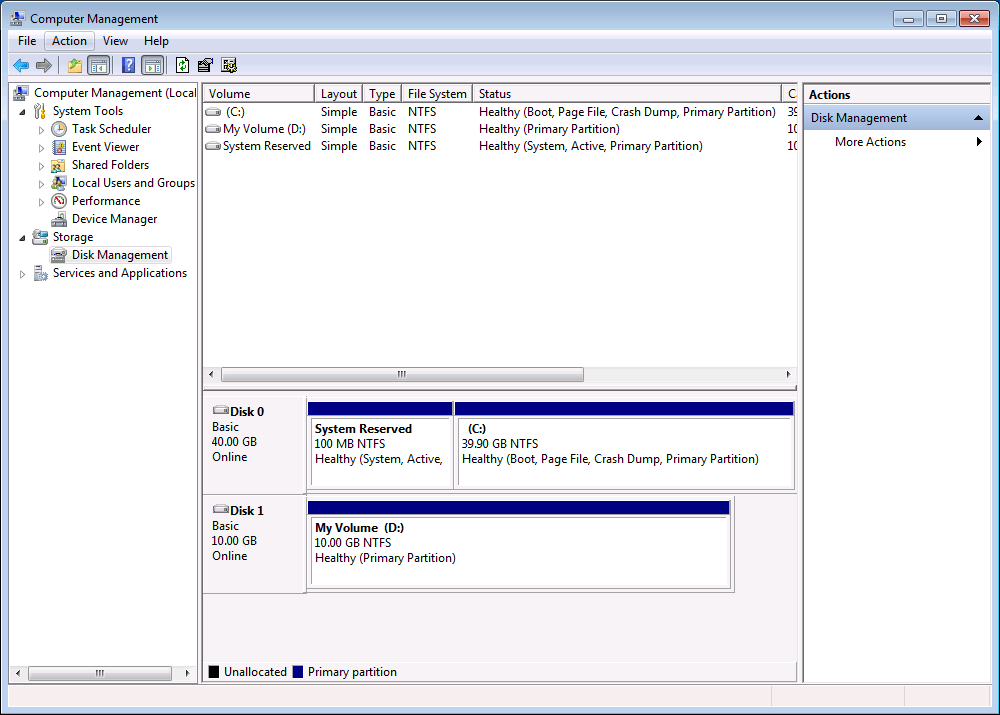
In the Computer Management window, you should now see the formatted and mounted volume.
If you open the Computer window, you should now see the volume as a second hard drive.
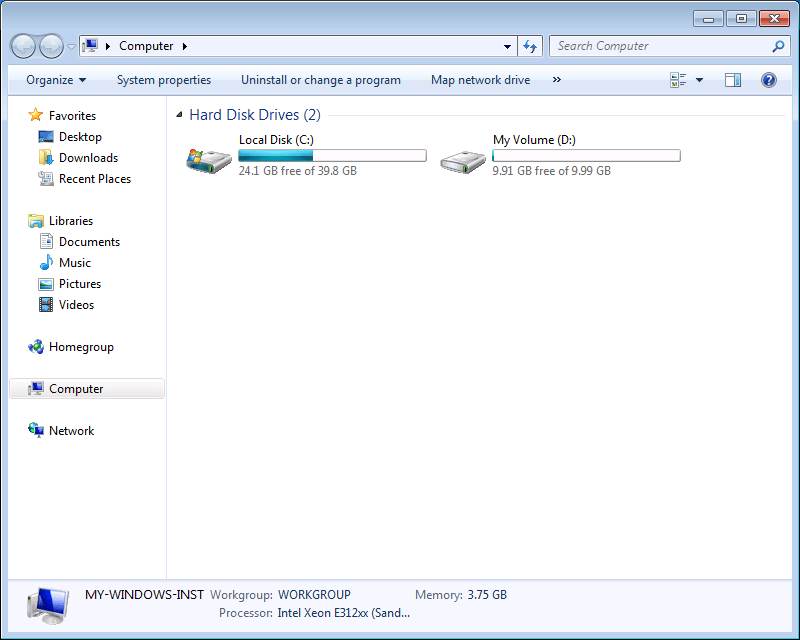
The volume can now be used.