How to setup X11 forwarding
If you are connecting to HCC clusters via a PC running Windows, please take the following steps to setup X11 forwarding.
- Download Xming to your local PC and install. Download link: https://downloads.sourceforge.net/project/xming/Xming/6.9.0.31/Xming-6-9-0-31-setup.exe
- Download PuTTY to your local PC and install. Download link for PuTTY (64-bit x86 .msi installer): https://www.chiark.greenend.org.uk/~sgtatham/putty/latest.html
- Open Xming and keep it running in the background.
-
Configure PuTTY as below:

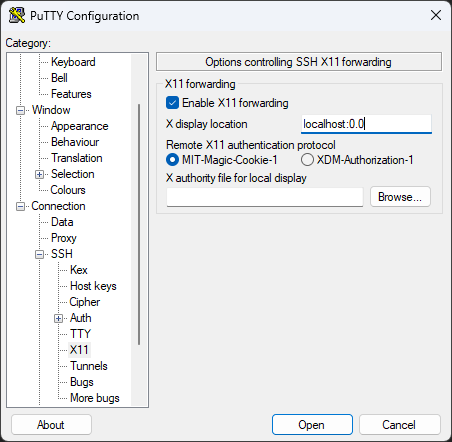
-
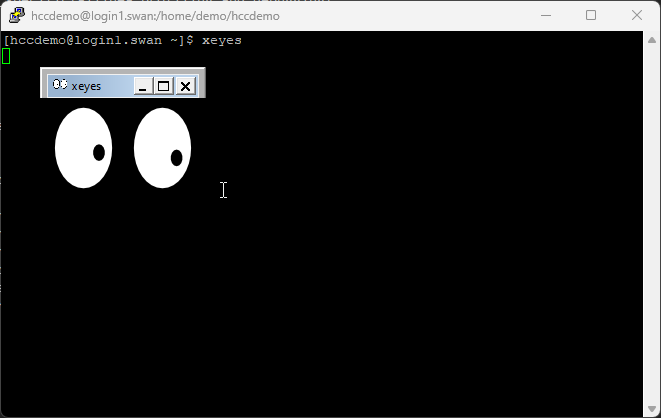
To test your X11 setup, after login, type command
xeyesand press enter.
-
Close the xeyes application by "Ctrl + c" from the terminal or click the close button on the up-right corner of the graphical window.
If you are connecting to HCC clusters via a Macintosh, please take the following steps to setup X11 forwarding.
-
Check the OS version on your Mac, if it's below 10.8., you can simply type
ssh -Y username@hostnamein your terminal to login. -
If your OS version is newer than 10.8, please do the following:
- Download and install XQuartz. Download link: https://github.com/XQuartz/XQuartz/releases/download/XQuartz-2.8.5/XQuartz-2.8.5.pkg
Note
Note that the screenshots given here use XQuartz 2.8.5. Different versions may have different prompts.
- Type
ssh -Y username@hostnamein your terminal to login. -
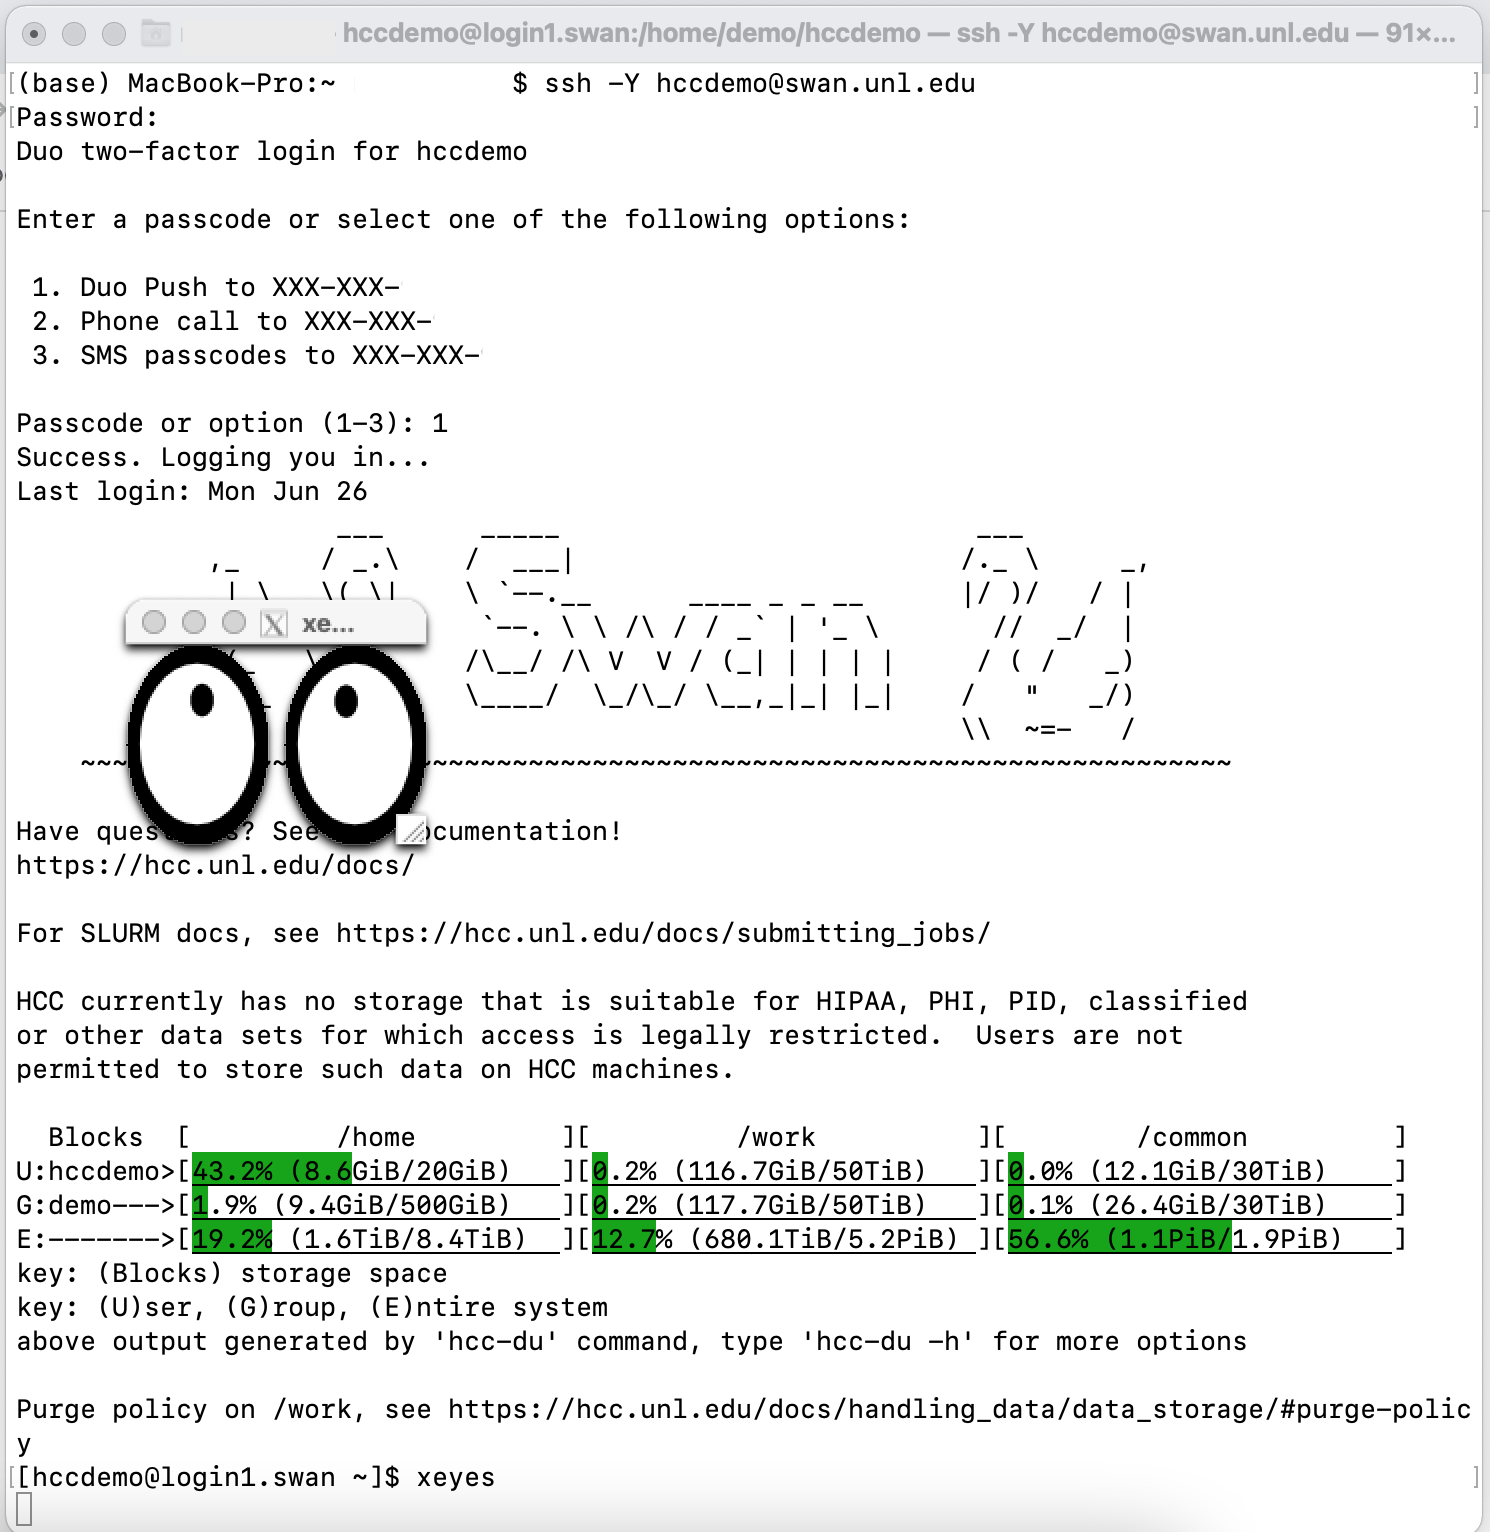
To test your X11 setup, after login, type command "xeyes" and press enter.
 4. Close the xeyes application by "Control + c" from the terminal or
click the close button on the up-left corner of the graphical
window.
4. Close the xeyes application by "Control + c" from the terminal or
click the close button on the up-left corner of the graphical
window.
If you are connecting to HCC clusters via a Linux laptop, please take the following steps to setup X11 forwarding.
- Open the remote client terminal.
- Type
ssh -Y username@hostname" in your terminal to login. - To test your X11 setup, after login, type command "xeyes" and press enter.
- Close the xeyes application by "Ctrl + c" from the terminal or click the close button on the up-right corner of the graphical window.
Special note about Indirect GLX
If you are using OS X or Linux, you may need to re-enable indirect GLX (IGLX) in order for the GUI application to run properly. IGLX was disabled for security reasons starting with X.org version 1.17 (Linux) and XQuartz version 2.7.9 (OS X). More information about this change is available at this link.
To re-enable IGLX, use the follwing instructions:
OS X
Open a terminal on your Mac, and run the following command:
Enable ILGX on OS X
$ sudo defaults write org.macosforge.xquartz.X11 enable_iglx -bool true
Log out or restart your Mac for the changes to take effect.
Linux
You will need to create a small Xorg configuration file. This requires root access, so
run commands with care.
Warning
Be extremely cautious running commands as root. You can permanently make your system unusable.
Create a file at /etc/X11/xorg.conf.d/iglx.conf with the following contents:
/etc/X11/xorg.conf.d/iglx.conf
Section "ServerFlags"
    Option "IndirectGLX" "on"
EndSection
Restart X11 by logging out, or by rebooting your machine.