Creating Globus Groups
A Globus Connect group is simply a group of individual Globus users. Groups are useful when you want to create a shared collection and give the same permissions to several different users. To create a group, you simply choose a group name and invite whomever you want to join. You will have complete control over the group enrollment as well as the role and status of each member.
-
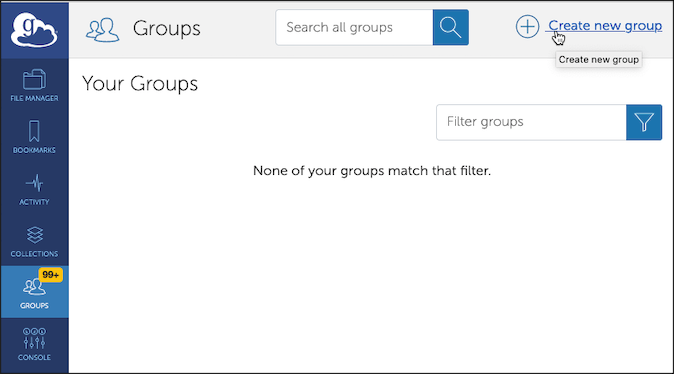
To get started, select the 'Groups' tab from the left sidebar of your Globus home page. Click on 'Create New Group' in the top right corner of the page.
-
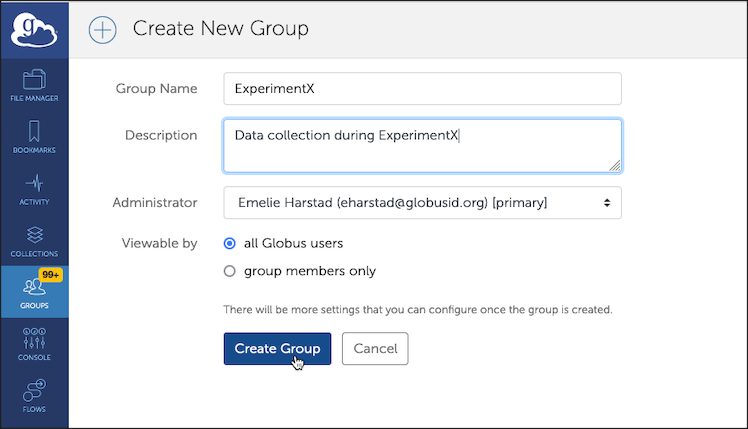
Once you have entered a unique group name and description, click 'Create Group'.
-
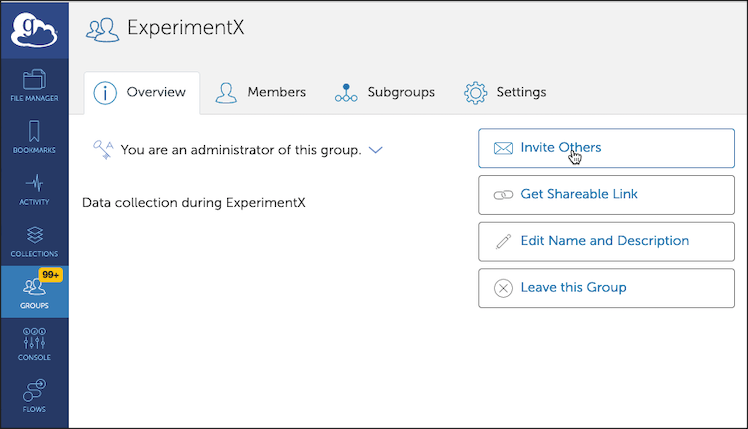
To invite Globus users to join the group, select the 'Groups' tab on the left-hand side of the page. Then select the group name, and then 'Invite Others'.
-
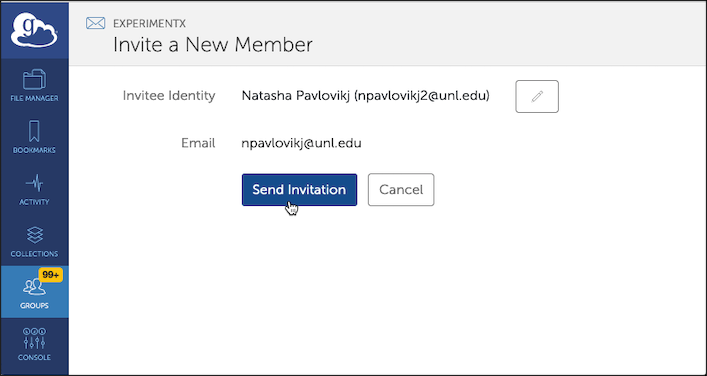
You will be able to enter the invitee's email address directly, or search for them using their Globus user name. Once you have entered or selected the user, click the 'Send Invitation' button.
-
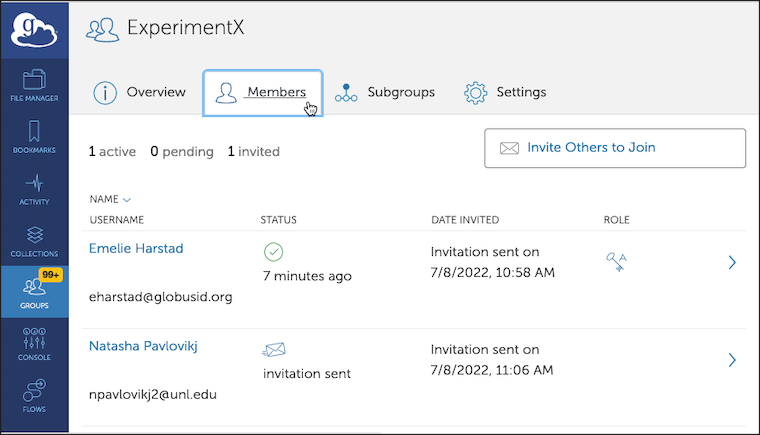
You can check the status of members by selecting the 'group' tab from your homepage, selecting the group, and then selecting the 'members' tab