Creating and attaching a volume
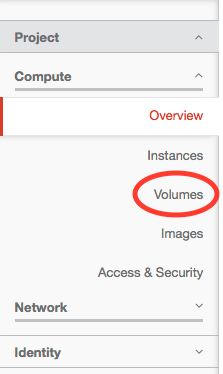
Log into the Anvil web dashboard at https://anvil.unl.edu using your HCC credentials. On the left-hand side menu, click Volumes.
On the right-hand side of the page, click the Create Volume button.

In the pop-up window, enter a name for the volume and optionally a description. Choose a size for the volume (GB).
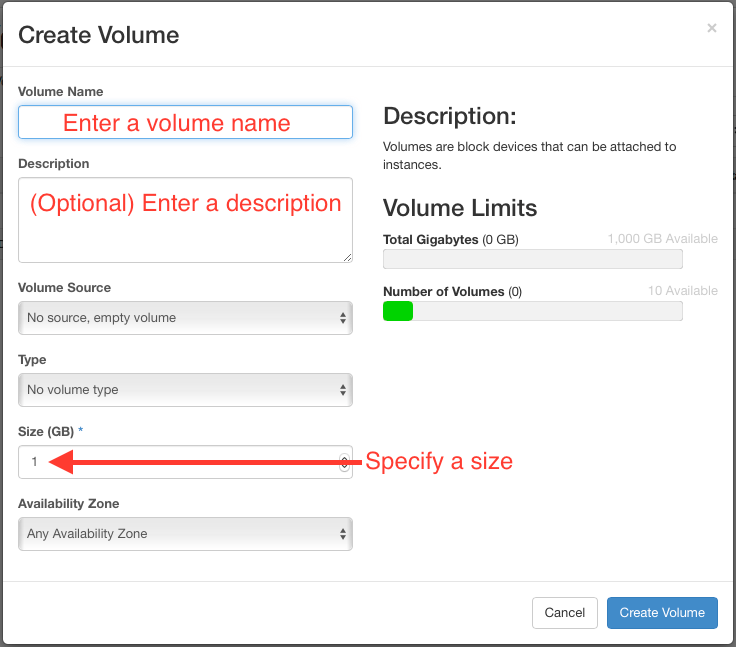
Here, 10GB is used. Click the Create Volume button to close the pop-up window.

You will be returned to the Volumes page and should see an entry similar to this.

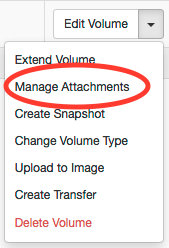
To attach the volume to an instance, click the down arrow on far right to open the drop-down menu, and choose Manage Attachments.
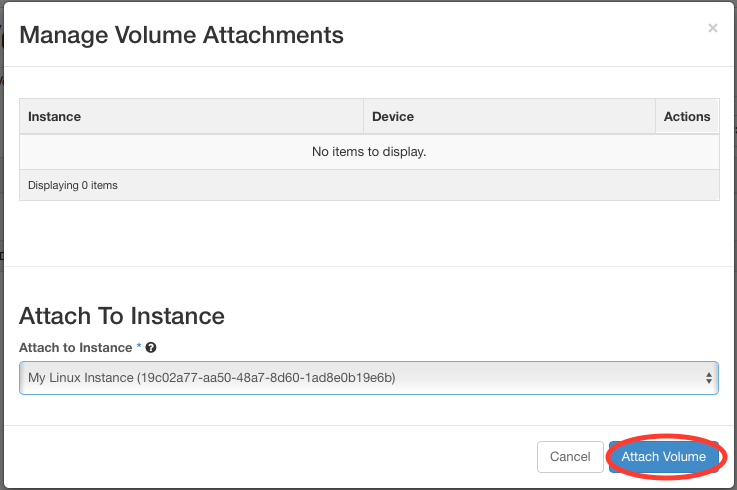
In the pop-up window, choose the instance you want to attach the volume to from the drop-down.
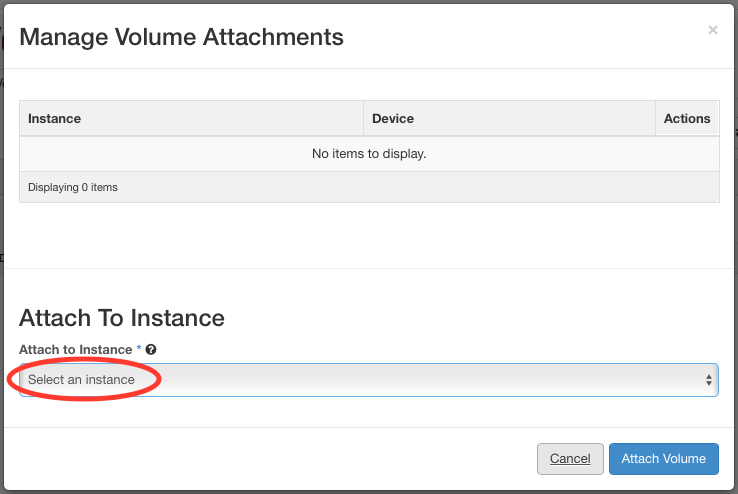
Click the Attach Volume button to finish and close the window.
On the Volumes page, you should now see that your volume is attached.
